How to get more shares using SumoMe?

The number one rule for making your blog posts go viral is to make sure it is easily shared by others. When I launched my blog 3 weeks ago, I made sure to promote it using Pinterest, Twitter , and Facebook Groups. This is called actively promoting your content, where you go out and do work to get others to read your content. Now, that does take a lot of work but let’s face it – you have to be out there and actively promoting your content. For me, I spend 1 day writing and 6 days promoting (I take weekends off, occasionally).
But, just this week I discovered something that made promoting my content so much easier. It’s something called Sumome and it’s freaking awesome. Why?
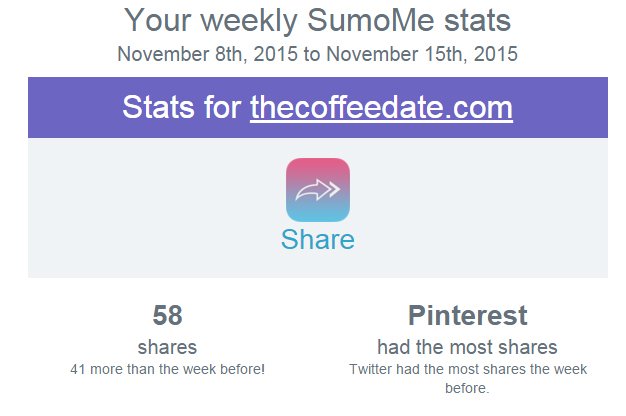
Uhhh yea, this is pretty awesome!
1. It works on any website (squarespace, wordpress, blogger, you name it).
2. It has multiple apps to download and use to make your content easy to share
3. It’s so easy to install
And the number one amazing thing about Sumome? It’s completely free.
“The easiest way to get someone to share your content, is to make it as easy as possible for them.”
This means that you have to make it obvious to the reader that you want them to share your content, and show them that it takes less than 5 seconds to do so. By using Sumome I have already seen an increase in shares – whether it’s people tweeting out my blog posts or people pinning my content. Also, it makes sharing MY OWN CONTENT much easier as well.
Also, do I need to mention that hundreds of other bloggers are using SumoMe? I'm a bit upset at myself that I jumped on the bandwagon way too late, but no worries, we're both late to the party but it's never too late to join!
Let's get started!
You're going to want to access the website, Sumome, and create an account.
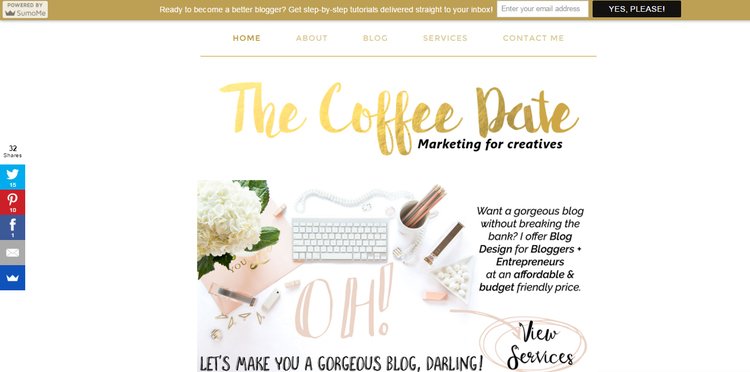
1. Click on the Sumome button on your website.
You should see the Sumome button on the right-hand side, it'll be peeking out so hover your mouse over it.

2. You'll get this popup that is Sumome's homepage.
Click on it so we can get started.
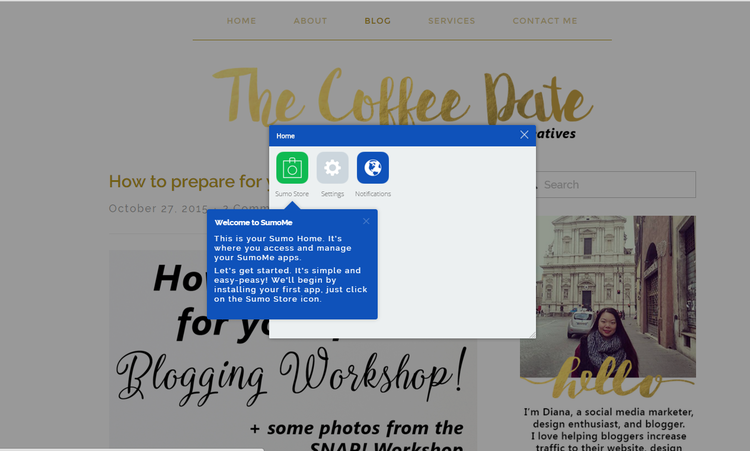
3. You'll get directed to the App store where you can choose from Email, Analytics, and Sharing Apps.
We are going to focus on the sharing app first.


This was my first day downloading this app, so there are no clicks at the moment!
4. Set up your different share apps under SETTINGS.

This is where you will choose what apps you want available for share.
An advanced tip: make sure that you choose the platforms that are most important to you. For me, I want people to tweet my post, then pin it, then share it to facebook, etc. If you have too many different options, then it will be harder for your reader to share it in the way you want them to (ex. you want to focus on facebook, but you have 50 different options... they will be less likely to share on facebook).
5. Set up your username for your services/share apps under SERVICES.

You're going to enter your Twitter username, make sure it enters it exactly as it asks. So for me, I would just put, "The Coffee Date" I saw a popular blogger enter it in incorrectly... which is a big no-no.
6. Choose the location of your share buttons under LAYOUT
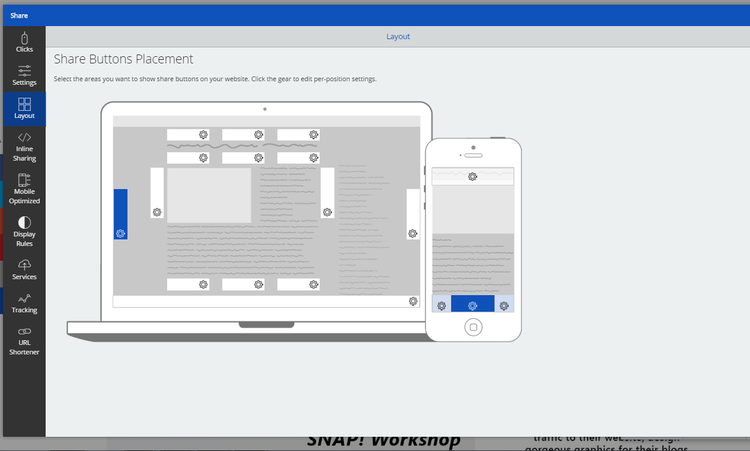
I chose to put mine all the way to the left. But you have plenty of options of where you want to put yours :)
Here’s how it looks like when you're done

If someone wants to tweet your post, it looks like this!

I love how it also tags you in the post, so you will get a notification if someone shares your post!
Advanced tip: Use SumoMe to promote your own content, it'll show up on the shares as well!

Learn how to use SumoMe's Smart Bar to get more email subscribers. I walk you through step by step how to edit & design your very own Smart Bar!
