How to do the Photo Cutout Trend using Capcut & Canva
Note: This tutorial was created using the desktop version of Capcut and Canva. I just find it much easier to work with compared to the mobile version (chubby fingers, am I right?).
I’m sure I’m not the only one who has been seeing these amazing TikToks and Reels of beautiful photo collages. They’re a fun and easy way to spice up your feed and show off your creativity or photography skills.
Here’s the one I created for my own account, The Coffee Date.
P.S. Don’t forget to follow me on Instagram!
Enough small talk, let’s get down to business.
You will need:
As many photos as you want (but you’ll need a minimum of 12 photos)
Canva
Capcut
Part 1: How to remove the backgrounds using Canva
Step 1: Go to Canva and click on, “Create a Design” on the top right corner.

Step 2: You’ll be shown “suggested designs”, click on “Instagram Story”.
The size will be 1080 x 1920.

Step 3: Upload each photo one by one, making sure to duplicate each photo so you end up having TWO versions of the same photo.
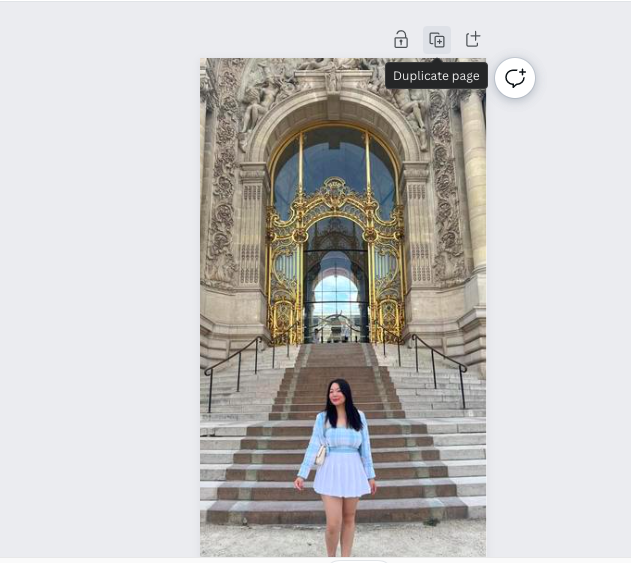
Why should you do this? This is because it ensures each photo is in the same spot each time, making the transition look even smoother!
Step 4: Click on the first photo and click “Edit Photo” on the top left bar.
Step 5: From there, select “Background Remover” and the background will be removed!

Note: If the background is still showing up in some places, you can click, “Erase” and clean up the background.
Step 6: Do that for the remaining photos, but DO NOT touch the duplicate photos (you will need them to stay how they are)!
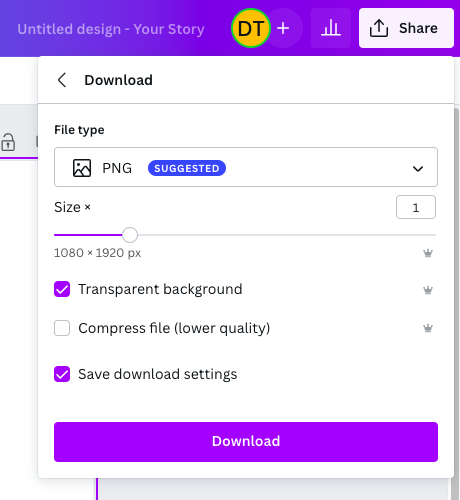
Step 7: Once you’re done, it’s time to download your photos! Click the top right corner and hit “Share” then make sure you click “Transparent Background” (if you have it), make sure it’s in PNG or JPG, and then click download.
Part 2: Overlaying all the photos in Cap Cut
This is where the magic happens (and also…it gets a little bit more confusing from here on out). We’re going to open up CapCut! For the sake of this tutorial, I will be using the desktop version but you would be able to replicate everything using the mobile version.
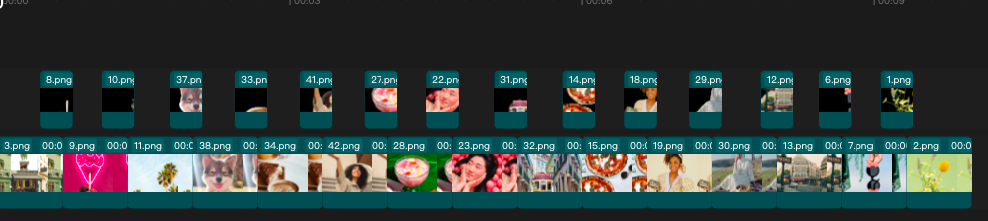
Before we start, here’s an example of how my CapCut timeline looks like when everything is finished! This is so that you get the layout and can see where everything aligns.

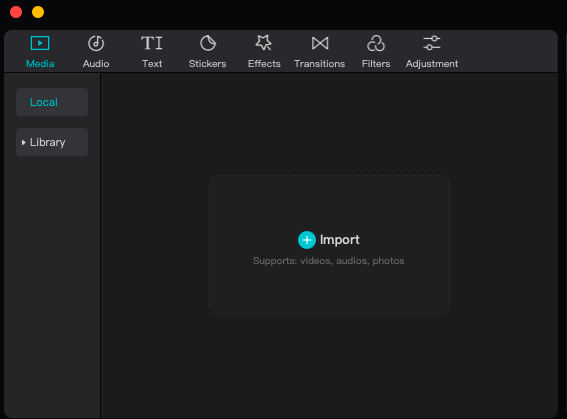
Step 1: Open CapCut and click, “import”. Choose all the photos you had just downloaded from Canva.
Step 2: Click on the first photo you’d like to start with and drag it into the timeline.

IMPORTANT: This is up to you but I started off with a photo that wasn’t a part of my cutout photos. So, choose an amazing photo that you think others will love as well (to start off your reel strong!).
Step 3: Click the first photo on the timeline and drag it to shorten it to 10 frames. It’s very important to standardize ALL the timing of your photos so that it looks more professional and not all over the place.
FRAME TIP: I was confused about frames and seconds (mistakenly mistaking them for one another, but basically you want to make sure it looks like so: 00:00:00:10
Note: Decide how long each background photo should be (in my case, I put 10 frames) and how long each photo cutout/without a background should be (I put 6 frames).
Step 4: Drag a cut-out photo into the timeline, then we are going to change the duration (or how long) that photo will be. You can do that by again clicking on the image and trimming it down to 6 frames.
Tip: If the clip is getting cut off and you want to see how long it is, use the timeline zoom and increase the zoom! I do this to see everything laid out.

Step 5: Drag the cut-out photo so that it is on top of the first photo (aka overlay it), you should see in the player view that the cut-out photo appears on top of the first background photo.
Step 6: Find the photo (the original) and add it so that it’s next to the first original background photo.

Step 7: Now, we are going to trim the most recent photo to 10 seconds.
Step 8: Grab another cutout photo and overlay it on top of that most recent photo with the background.
Step 9: Trim it to 10 seconds, and repeat the process!
By now, your timeline should look like this:
Test it out by pressing play and seeing how it looks. Then, make sure to export it!
Part 3: Speeding up the video
I like to speed up the video just using Instagram or Tiktok.
Set it up at 2x speed and you should be done!